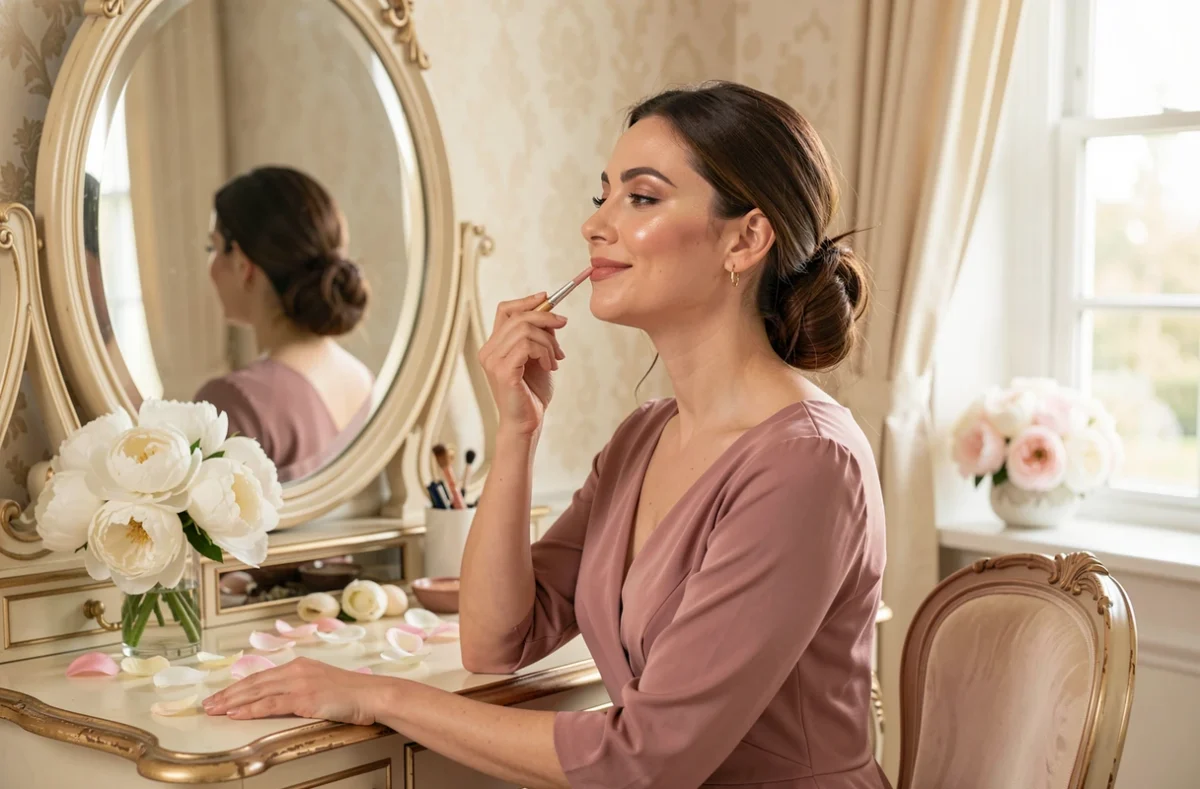
The wedding guest makeup relies on a precise balance: enhancing oneself without competing with the bride, while considering the venue, lighting, and duration of the day. Current trends favor visible skin texture, coherent color harmonies, and long-lasting wear achieved through fine layering rather than material accumulation. Here are ten concrete techniques to create an appropriate look.
1. “Real Skin” Complexion with Sheer Foundation
The heavily covered and uniformly matte complexion is giving way to what professionals call “real skin” makeup. The principle: a luminous, sheer base that allows the natural texture of the skin to show through.
To achieve this effect, apply a fluid foundation or tinted moisturizer in a minimal layer, then control shine only on the T-zone (forehead, nose, chin) with a translucent powder. The rest of the face retains its natural glow. This approach holds up better in humid conditions than thick foundation, as each layer remains thin and adheres better to the previous one.
Every wedding guest makeup idea is based first on this foundation: without a well-groomed complexion, no color does justice to the final look.
2. Monochrome Makeup on Eyes, Cheeks, and Lips
Monochrome makeup involves using the same family of shades on the eyelids, cheeks, and lips. Antique rose, terracotta, or softened plum: the single color creates an immediate harmony without complex coordination effort.
This technique also simplifies the makeup kit. A single multi-use product (stick or cream) is enough for all three areas. The result looks polished while the application takes little time, a real advantage when getting ready in a hotel room on the morning of the ceremony.
3. Neutral-Toned Smoky Eye for an Intense Look
The classic smoky eye (charcoal black) can seem out of place during the day. The wedding-appropriate version uses neutral eyeshadows: chocolate brown, taupe, bronze, or khaki. The gradient remains soft, blended into the crease of the eyelid, without a harsh line.
Apply the darkest shadow along the lash line, then blend upwards with an intermediate shade. The inner corner receives a lighter touch to open the eyes. This type of smoky eye works well on brown eyes as well as blue or green eyes, provided the palette’s temperature is adapted to the skin tone.
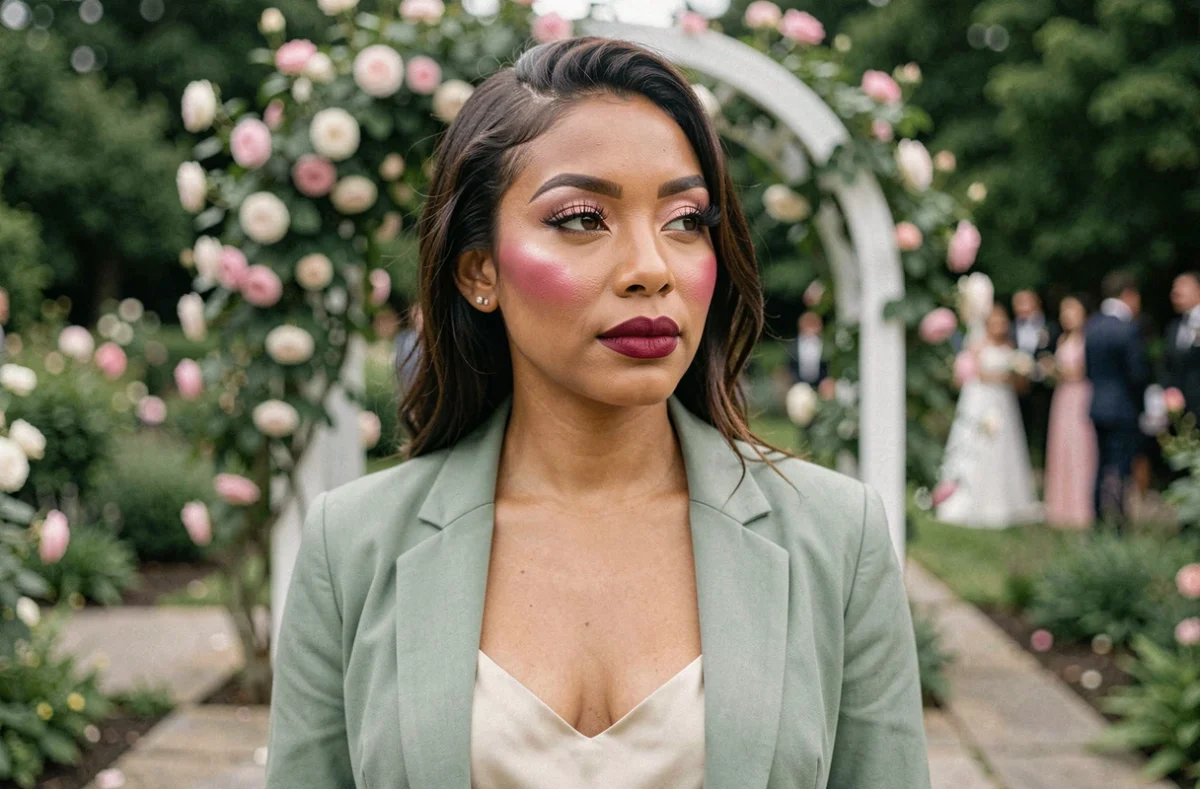
4. Velvet Lips with Matching Pencil
A well-defined mouth anchors the face without requiring heavy eye makeup. The velvet lips technique combines a lip pencil slightly darker than the lipstick and a non-drying matte formula.
Outline the lips, fill in the center with the pencil, then apply the lipstick on top. This layering prevents the color from feathering into fine lines and extends wear for several hours, even after the cocktail.
5. Cream Blush Applied High on the Cheeks
Classic powder blush can appear powdery in photos. Cream blush, on the other hand, melts into the skin and captures light more naturally. Applied high on the cheeks (almost under the bone), it gives a healthy glow without heaviness.
Take a small amount with your fingertips and tap directly onto the skin. Blend towards the temples. Peach, rosy, or apricot shades work on most skin tones and easily coordinate with a pastel dress or a colorful outfit.
6. Brushed and Set Brows for a Natural Frame
Structured brows frame the face and reduce the need for makeup elsewhere. The current trend moves away from heavily drawn lines in favor of brushed-up brows set with gel.
Fill in any gaps with a fine pencil, hair by hair, then brush everything upwards with a clear or tinted gel. The result remains dense yet natural, without a “block” effect that ages in photos.
7. Fine Eyeliner Along the Lash Line to Define Without Weighing Down
Graphic eyeliner is suitable for creative evenings but less so for daytime ceremonies. For a wedding, a fine line drawn along the upper lash line is enough to intensify the gaze.
- Use an angled brush and gel eyeliner (easier to control than a pen) to draw the line in small segments from the inner corner.
- Extend slightly at the outer corner without creating a pronounced wing, unless the dress and theme allow for it.
- For sensitive eyes, a waterproof kohl pencil smudged gives a similar effect with less precision required.
8. Targeted Highlighter on Three Points of Light
Applying highlighter everywhere gives an oily effect in photos. Three points of light are sufficient: the bridge of the nose, Cupid’s bow, and the tops of the cheeks. Choose a liquid or cream formula rather than a glittery powder, which reflects too much flash light.
Apply sparingly: a drop per area, blended with your finger. The goal is a subtle glow noticeable in movement, not a mirror effect in group photos.
9. Waterproof Base and Localized Setting for Longevity
Resistance to heat and humidity does not rely on a single “long-wear” product but on a light layering of thin coats. A primer suitable for the skin type, a waiting time between each product, and a setting spray at the finish form a more reliable system than a thick layer of waterproof foundation.
- Apply the primer on hydrated skin and wait one to two minutes before foundation.
- Powder only the T-zone, where shine appears first.
- Spray the setting spray from a distance (about an arm’s length) for even distribution.
10. Personalized Makeup According to the Dress and Light
The choice of colors and intensity depends on three often-overlooked variables: the color of the dress, the type of light (indoor, outdoor, mixed), and the season.
A light or pastel dress can support more pronounced eye makeup. A dark or patterned dress calls for a more streamlined face, with emphasis on the complexion and lips. In summer outdoors, creamy textures hold up better than powders. In winter, under artificial lighting, a slightly iridescent shadow counteracts the pallor that neon lights accentuate.
Adapting makeup to these concrete parameters distinguishes a well-thought-out look from makeup applied by reflex. Skin tone, personal style, and desired comfort remain the final arbiters of each product and color choice.